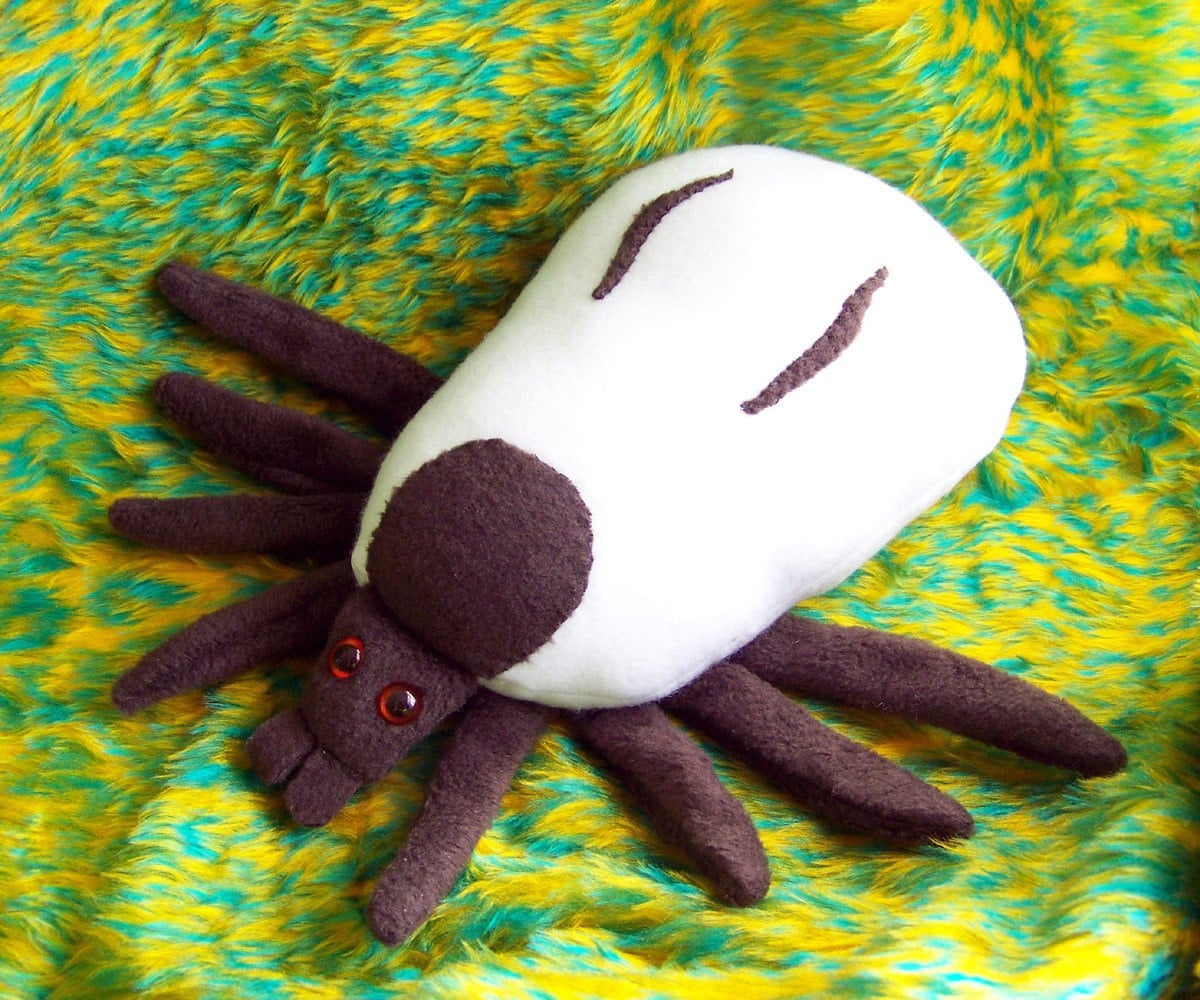
I've been carving my own stamps for a little while now to put on my tags, notes, and packaging. I've decided to start putting them on my business cards too, since I'm venturing to the buggy side of things, and not monsters so much anymore. It was quite fun coloring each card by hand with sharpies, but it does get in the way of homework time.
So here goes! A tutorial for making your very own stamps! Here is what you'll need to start: Speedycut Speedball rubber, a Speedball carving set, a pencil, and of course an ink pad and paper. You can check out the speedball website
here.

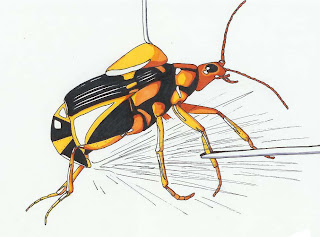
First step is to sketch out your design (for this I chose a beetle). Make sure to do this very lightly, you don't want to make indentations in the rubber. Then cut out the area you'll be using.

Take the tiniest carving tool, and cut out around your lines. It goes very smoothly, so make sure to keep control over your tool, it's very easy to cut too much.

Should look like this!

Then start digging out the areas around the details. You want to do this very carefully, so you don't accidentally cut off any important pieces.

You can see here the beetle is starting to take shape. I added some lines for decoration, it shall be a colorado potato beetle.

Then take a larger tool to take out the rubber around the edges. You want your design to be the only raised area.

At this point, you're almost done. Clean up some of the scraggly lines with the tool with a smoother curve, and run it under some water to wash away the little bits and pieces. Pat dry.

And there you have it! If you use the stamp and discover that your design is a bit off, you can always go back and fix it until you get it right. You can mount your stamp onto a block of wood with glue, but for now I keep mine the way they are.

Now for the fun part - making business cards and tags! Here's what you'll need:

For my business cards, I simply cut up cardboard (the type used for cereal boxes, cracker boxes, etc) into rectangles. I try to make them roughly the same size, but don't worry about being exact. I then simply write my website, and stamp away!

If you get your hands on a tag punch and a hole puncher, you can make some awesome little tags for your items. The tag punch will actually punch through the thin boxes!

And there you go, cute little tags that are uniquely yours.

Some of the other stamps I've made so far:

Hope you've enjoyed this little tutorial! I think it's a great way to give your business a more personal touch, while being eco friendly (by using recyclable materials). You can of course create any design you wish, simple or complex. Words are a little tricky, as you can see in the last picture I just cut them out (backwards!) as opposed to making them raised.
If anyone makes their own stamps after reading this, I'd love to see them!

 Comments will be moderated so you can't see the other guesses. Please leave either your etsy name or email address so I may contact you if you win. Everyone with a correct answer will be put into a drawing, with a name picked at random. The baby monster will also be chosen at random.